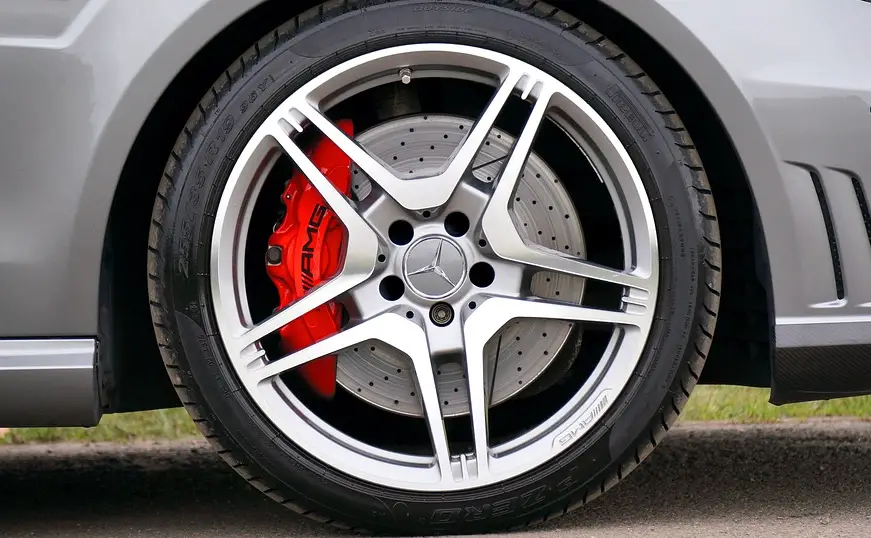
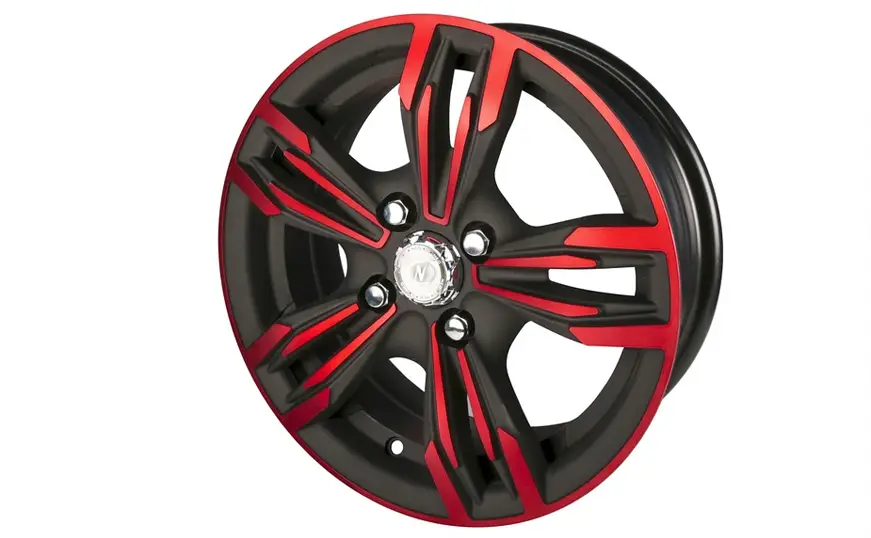
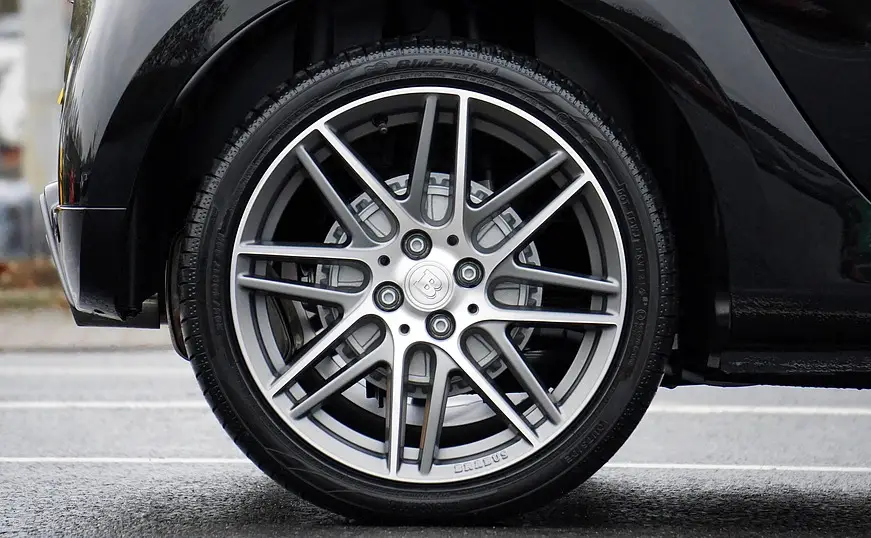
Alloy wheels add an upmarket finishing touch to any vehicle. When new, alloy wheels look fantastic. But over time, they can become worn and need repair, which can potentially be a costly exercise. In this article, we bring you all the best information for a simple DIY alloy wheel refurbishment guide.
In this guide, we will provide you with some methods you can use at home for alloy wheel refurbishment. Plus, the most common materials to use and how to apply them.
Once you follow through with the tips below, you should have a greater understanding of the different methods used for an alloy wheel refurb. Also, with care and attention, these steps will take you from the look of a battered old wheel to a shiny new object.
Is It Worth Getting Alloy Wheels Refurbished?
It’s always worth repairing alloy wheels, especially with an expensive set. DIY wheel repair can be a lot cheaper than buying a new set of wheels, with all the materials needed, like paint and filler being readily available. All these materials should be easily available to buy online.
There are also tell-tale signs of when an alloy wheel refurb is needed. Corrosion can slowly eat into a wheel. Any signs of corrosion need to be addressed immediately, stopping the effect from going too deep. Sanding alone may not remove all evidence of deep corrosion. Thus, it’s wise to address this problem as soon as it is spotted. Wheels kept in wet climates are the most susceptible to deep corrosion.
How Long Does It Take to Refurbish an Alloy Wheel?
The time it takes to refurbish an alloy wheel can be anything from 14 to 36 hours. The time needed will be dictated by the extent of the damage and the hours needed for repair. In most cases, you should expect to be without your alloy wheels for a few days at a minimum.
Commercially refurbished alloy wheels can use special tools and equipment such as dipping tanks to strip the wheel down to its bare metal. If you don’t have own this type of equipment at home, then the DIY process will take longer due to more sanding time and preparation of the wheel for spraying.
Can I Refurbish My Own Alloys?

You can refurbish your own alloy wheels with time and patience. You will need all the materials and tools for each step of the process readily at hand, from basic masking tape to primer, lots of sandpaper and the finishing clear coat.
The end result of an alloy refurbishment is to make a wheel look brand-new. To reiterate, taking your time and being patient with the process is just as important as using quality tools and materials. A rushed job will result in an amateurish final product.
What’s the Best Way to Refurbish Alloy Wheels?
The best way to refurbish alloy wheels is to perform the job at home. With simple-to-access tools and materials, a full alloy wheel refurbishment can be performed from start to finish at home, with a professional paint job from off-the-shelf spray cans.
The process starts with buying the correct materials. The materials below are the basics of what you will need.
Materials Needed
- Jack and wheel stands
- Sandpaper – coarse to fine grit
- Masking tape
- Cleaning products
- Alloy wheel filler
- Primer spray
- Spray paint to match the original colour
- Clearcoat spray
- Ventilation masks and gloves

How to Refurbish Your Alloy Wheels
Remove the Wheel and Tyre
While it’s tempting to leave your wheel on the vehicle, remove the wheel and tyre for better access. With the wheel and tyre removed, it’s easier to examine and create the best final look. A tyre can be kept in place but will need thorough masking at the spraying stage for the most ideal DIY alloy wheel refurbishment.
Clean the Wheel
An alloy wheel needs to be perfectly clean before the refurbishment process. A general cleaning with the product you use to wash the car will get rid of superficial dirt. Chunks of dirt can be removed in this manner, but more problematic areas such as brake dust need to be removed with cleaning products made for the task. A wheel needs to be as clean as possible, without unwanted residue.
Masking Alloy Wheels
You will need to mask the tyre if you intend to keep it in place throughout the process. The idea is to mask the tyre completely so that only the alloy wheel is visible. Make sure the tyre is completely dry before applying the masking tape for it to stick properly. You may have to deflate the tyre completely to insert masking tape between the rim and the edge of the tyre.
Sanding Alloy Wheels
Firstly, make sure you have a large selection of sanding paper from coarse to fine. It’s also an idea to buy very fine wet and dry sandpaper for after applying the spray primer coat. Every wheel will need a small amount of sanding for a completely smooth finish. Flaked paint or corroded areas will need coarse sandpaper, then work your way through the grits to the finest grits for the smoothest finish.
Alloy Wheel Filler
When sanding alone cannot get rid of very deep scratches, then filler will be needed. Alloy wheels scratch repair fillers are the best for filling in large scratches or small holes, with each product having instructions and drying times.
The filler will need to be allowed to dry thoroughly before sanding to a smooth finish. Use medium to fine sandpaper for this process, then wipe away all dust and residue. The wheel and filler need to be smooth and defect-free at this stage before moving on to the spraying process.
The wheel can also be wiped down with denatured alcohol and a clean cloth before the spraying process.
Applying the Primer Spray
A primer coat of spray will need to be applied before the colour and clear coats. Clean the wheel thoroughly, making sure there is no dust and residue. Washing and drying the wheel will make sure there are no unwanted particles.
Shake the spray cans thoroughly, then apply the spray no closer than 10 to 12 inches using a constant motion. Apply two to three coats of primer, allowing drying time between each coat. After the final coat is applied, very fine wet and dry sandpaper can be used to create a smooth finish.
Applying Coloured Paint
Once the perfectly smooth primer coat is finished, a colour coat is applied with spray cans that match the original colour. Spray cans are the easiest to apply, laid down in thin coats with the same process of applying primer.
A smooth and even finish should be the end result. Take your time and apply several very thin coats of coloured paint, rather than one thick final coat.
All types of spray should be applied to a vehicle in a dry, wind-free and warm environment. If you don’t have a dedicated indoor space, then wait for a dry and warm day, with plenty of ventilation, not forgetting to wear gloves and face protection.
In fact, it’s an idea to wear protective clothing and a facemask for every step of the process. Particulates from the wheel can be easily breathed in at each stage of the process. Therefore, it’s an idea to buy a few face masks, in case one becomes accidentally damaged.
The Clear Coat Finish
Apply two to three clear coat layers, with the same process as applying primer or coloured paint. This step doesn’t require any sanding, just waiting time between each coat. The clear coat is the final touch to seal the paintwork and provide a professional final look. Leave the final clear coat to dry thoroughly before fitting the tyre and back onto the vehicle.
After the wheel has completely dried and is to your liking, it can be buffed and polished. Metal polish can be applied with a soft cloth, which then should be allowed to harden. Buff all surfaces with another soft clean cloth until the wheel develops a quality shine.

How Can I Sand My Alloy Wheel Rims Fast?
Lightly sanding an alloy wheel by hand is still the best and fastest option. Hand sanding allows all the intricate angles to be accessed on the wheel, which may be too aggressive with machines.
Sanding pads can be used with no higher than 200 grit sandpaper to start with. Always start with a coarse grit, then progress to finer sandpapers to finish. If the wheel has a Teflon coating, then paint thinner can be applied for five minutes, and then rubbed with an abrasive pad.
Any sanding process is very time-consuming, especially on intricate shapes like a car wheel. Don’t sand in any one area for more than a few sweeps, even on areas with large scratches or corrosion.
Very fine wet and dry sandpaper can be used for the finishing stages up to 1,000 grit after the filler is applied and after the final coats of paint. Rushing this process in a worst-case scenario will involve starting all over, especially if you spot scuff marks after the wheel has been painted.
How Do You Fix Curbed Alloys?

A curbed alloy wheel can display deep scrapes or scratches. For the deepest scrapes, apply an alloy wheel filler, then use 220-grit sandpaper for a smooth finish. Use progressively finer sandpaper for the smoothest finish.
Once the filler has seamlessly blended into the rest of the wheel, the primer, colour and clear coats can be applied following the steps above. Each step, including the painting process, will take lots of patience for a quality DIY alloy wheel refurbishment. If you rush any of the steps, you may have to go back and redo the whole process, filling and sanding unsightly areas.
How Many Cans Does It Take to Spray Alloys?
Budget using one can of spray per wheel. This will depend on how many coats of paint you wish to apply for the primer, colour coat and clear coats. One can of spray is easily used when applying four coats through each stage.
Always make sure each coat is thoroughly dried before applying the next layer. Leave an hour for each coat to dry properly for the best DIY alloy wheel refurbishment.
How Much Does Alloy Wheel Refurbishment Cost?
The total cost of DIY alloy wheel refurbishment including wheel paint can cost less than £40 per wheel when performed at home. The price will be dictated by if the filler is needed, the quality of the paint and obviously the cost of time. A commercially refurbished alloy wheel can cost around a hundred dollars for each 20-inch wheel, with cheaper prices found if you have multiple repairs done at once.
Although a DIY home repair is cheaper and can produce amazing results, there is also a time cost involved. If you simply don’t want to spend the amount of time needed on an alloy wheel refurbishment, then you will have to have the wheel repaired commercially.
FAQ’s
What is alloy wheel refurbishment?
A: Alloy wheel refurbishment is the process of restoring the appearance and function of damaged alloy wheels. This can include repairs to curb rash, scratches, and other cosmetic damage, as well as repainting or re-coating the wheels to improve their appearance.
How is alloy wheel refurbishment done?
The process of DIY alloy wheel refurbishment and professional refurbishment can vary. This mainly depends on the specific condition of the wheels and the desired outcome. Generally, the process includes cleaning and preparing the wheels, repairing any damage, and then repainting or re-coating the wheels.
How long does alloy wheel refurbishment take?
The length of time required for alloy wheel refurbishment can vary depending on the condition of the wheels and the specific work that needs to be done. In general, the process can take anywhere from a few hours to a few days.
How much does alloy wheel refurbishment cost?
Professional alloy wheel refurbishment can vary depending on the condition of the wheels, the specific work that needs to be done, and the location where the work is being performed. On average, the cost can range from £80 to £400 per wheel depending on the size and process required.
How can I maintain the finish of my refurbished alloy wheels?
To maintain the finish of your refurbished alloy wheels, you should regularly clean them with mild detergent and water. Avoid using abrasive or harsh chemicals, and try to keep the wheels out of areas where they may be exposed to salt or other corrosive materials.
Conclusion
Whether you drive a Ford or an Audi, if you are willing to put in the time and effort needed to repair an alloy wheel at home, the results can look fantastic. The materials needed are no more than a basic car body repair and you will also be satisfied with producing a professional job.
If you still wish to hand over your wheels to be refurbished by a professional, then powder coating could be an option. This process is more costly than basic spray painting, involving statically charged particles bonding to the metal. Powder coating also provides a durable final finish, with good resistance to scratches and chipping.
Although in theory powder coating can be performed at home, it still needs specialist tools, which may be out of the budget of a one-off wheel refurbishment.
The DIY alloy wheel refurbishment tips above will provide you with a good starting point from initial evaluation to applying the final lacquer. If you have found these tips useful, please comment and share this article as they are bound to help others out in the future.